
Ensuring the safe removal of an SD card from your MacBook is like giving your storage a power boost. In this comprehensive guide we’ll dive into three super easy methods to power down your SD card before pulling it out. Get ready to power up your MacBook knowledge.
Table of Contents
- Method 1: Power Eject from the Desktop
- Method 2: Power Unleashed through Finder
- Method 3: Unleash the Power within Disk Utility
- Step 1
- Step 2
- Step 3
- FAQs
- Conclusion
Method 1: Power Eject from the Desktop
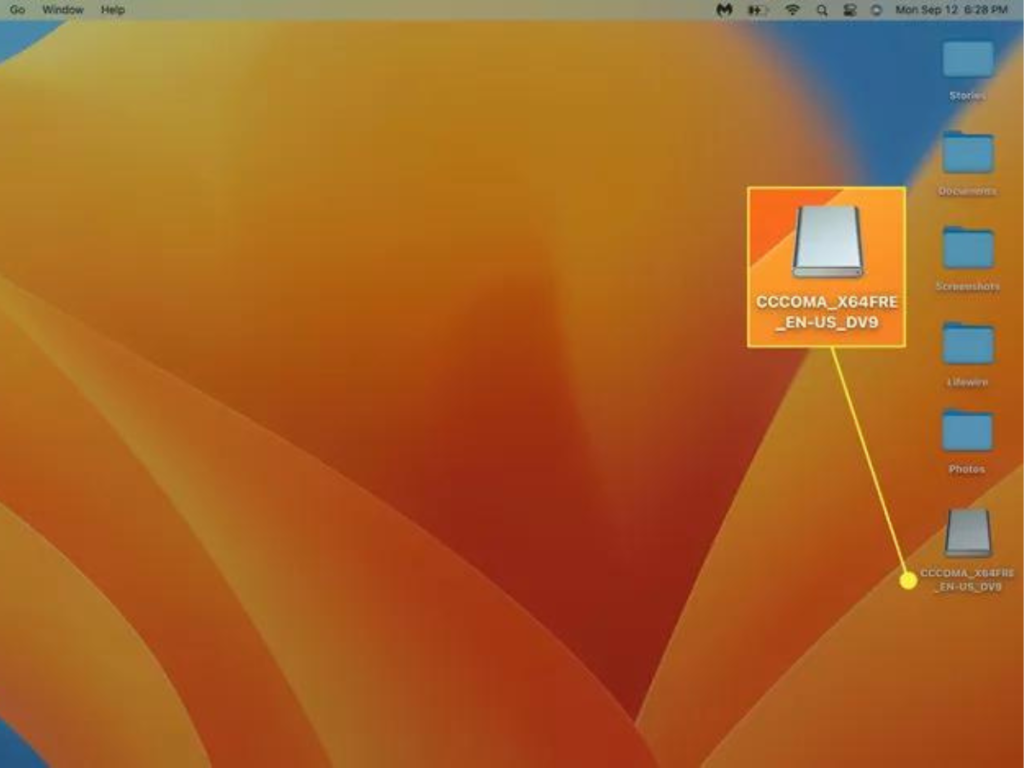
Locate the SD card on your desktop:
- Find the icon on your desktop that represents your SD card.
Unleash the power of Control:
- Press and hold the Control key on your keyboard.
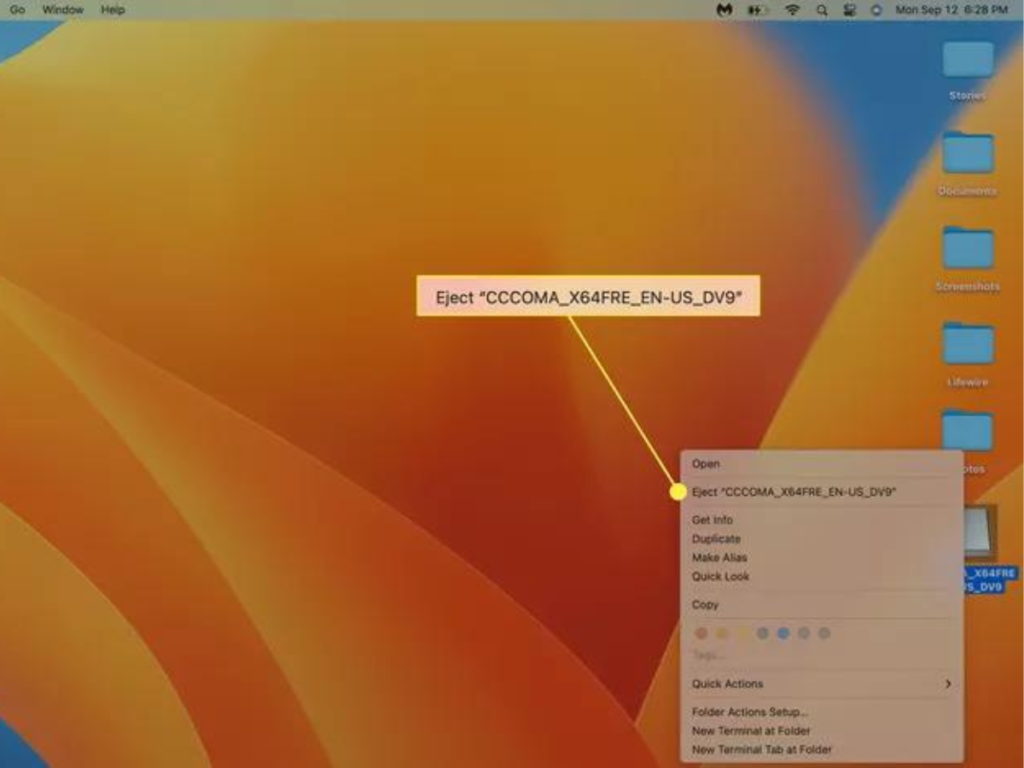
Eject the SD card with precision:
- While keeping the Control key pressed also click on the mighty SD card icon.
Confirm the power move:
- In the menu that pops up, choose “Eject.”
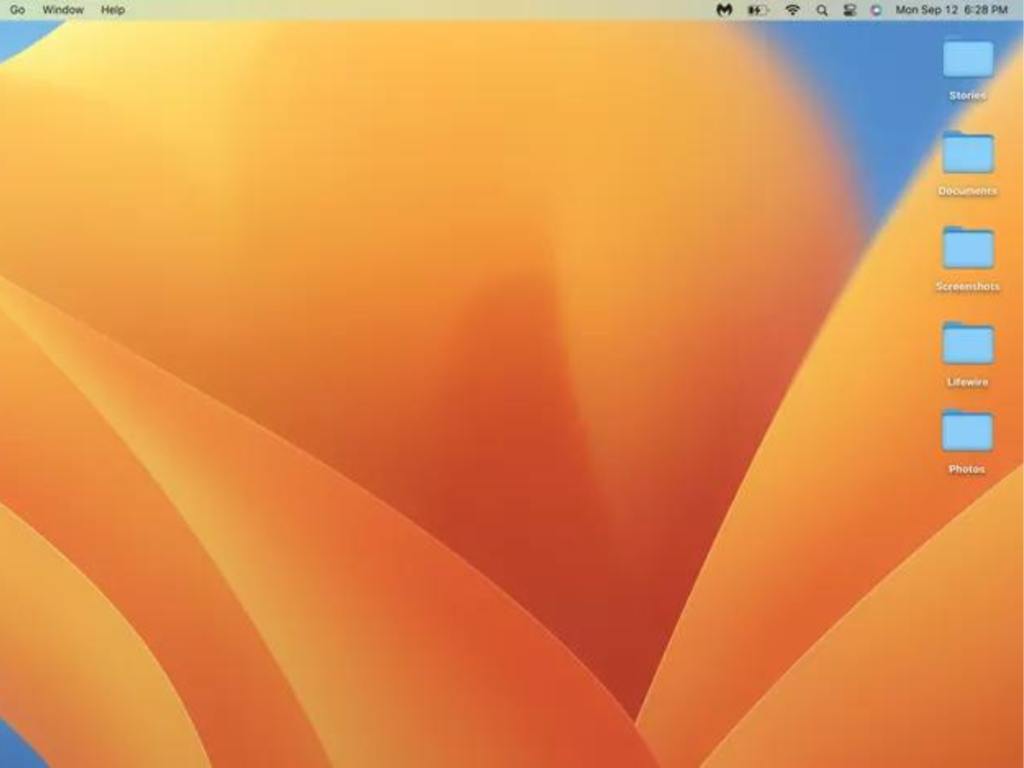
Witness the power in action:
- Ensure the SD card icon disappears from your desktop.
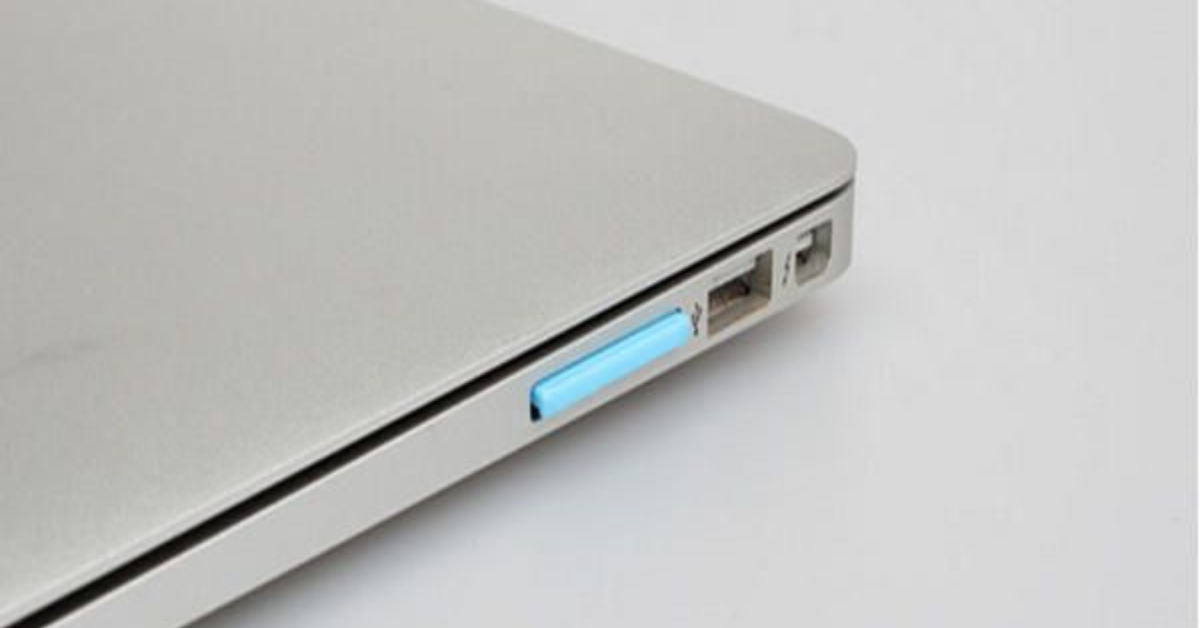
Physically remove with power:
- Once it’s vanished then you’ve got the power to take out the SD card safely.
Method 2: Power Unleashed through Finder
Activate the power in Finder:
- Open up the Finder and let the power flow through.
Spot the SD card power source:
- In the sidebar under “Devices,” locate the powerhouse your SD card.
Engage the power Eject button:
- Click on the Eject button next to the SD card’s name.
Check for the power-off signal:
- Make sure the SD card is no longer visible in the Finder.
Execute the power removal:
- After the power ejection, safely pull out the SD card.
Method 3: Unleash the Power within Disk Utility
Launch the powerhouse, Disk Utility:
- Find Disk Utility in the Applications > Utilities folder and let the power flow.
Target the power core – your SD card:
- Pick your SD card from the list on the left.
Initiate the power Eject:
- Click on the almighty Eject button in the top-left corner of Disk Utility.
Ensure the power disconnect:
- Confirm that your SD card is no longer listed in Disk Utility.
Free the power plug:
- Once the power ejection is complete, you can safely unplug your SD card.
| Power Method | Power Steps |
|---|---|
| Desktop | 1. Locate SD card icon. 2. Hold Control key. 3. Click on SD card. 4. Choose “Eject.” 5. Verify disappearance. 6. Remove SD card. |
| Finder | 1. Open Finder. 2. Select SD card under “Devices.” 3. Click Eject button. 4. Confirm disappearance. 5. Power removal of SD card. |
| Disk Utility | 1. Launch Disk Utility. 2. Select SD card. 3. Click Eject. 4. Confirm ejection. 5. Unplug SD card. |
Step 1
Step 2
Step 3
FAQs
Q1: Is powering down with an eject necessary for my MacBook and SD card?
A1: Power ejecting ensures all data activities are wrapped up safely, preventing any power surges.
Q2: Can I pull out the SD card without a power down?
A2: It’s like turning off your computer properly – always power down (eject) before disconnecting to avoid any power glitches.
Q3: What if the power ejection isn’t working?
A3: Try powering up Disk Utility to force eject. If all else fails, reboot your MacBook and give it another power shot.
Conclusion
Mastering the art of power ejecting your SD card is a simple yet powerful practice. By following these power packed methods, you’ll keep your data safe and your storage powerhouse in top notch shape.