
Easy Steps
Adding a monitor to your MacBook Air can make your work easier and more comfortable. It gives you a bigger screen to work on and makes multitasking simpler. This guide will show you how to connect your MacBook Air to a monitor easily.
Table of Contents
Step 1: Check Your Ports for MacBook Power
First, look at the sides of your MacBook Air to find the ports. These are where you’ll connect the monitor. Newer MacBook Airs have Thunderbolt 3 or Thunderbolt 4 ports. These are small oval shaped ports that can also charge your MacBook. If you have an older MacBook Air then you might have Mini DisplayPort or Thunderbolt 2 ports. These are rectangular ports.
Step 2: Get the Right Cable or Adapter
Next, you’ll need the right cable or adapter to connect your MacBook Air to the monitor. Depending on the ports on your MacBook Air and the inputs on your monitor, you might need:
- A USB-C Digital AV Multiport Adapter for HDMI monitors.
- A Thunderbolt/USB-C cable for USB-C monitors.
- A VGA Multiport Adapter for VGA monitors.
- If you have an older MacBook Air, check Apple’s guide to find the right adapter.
Step 3: Connect Your MacBook Air to the Monitor
Now, plug one end of the cable or adapter into your MacBook Air and the other end into the monitor. Make sure they’re securely connected.
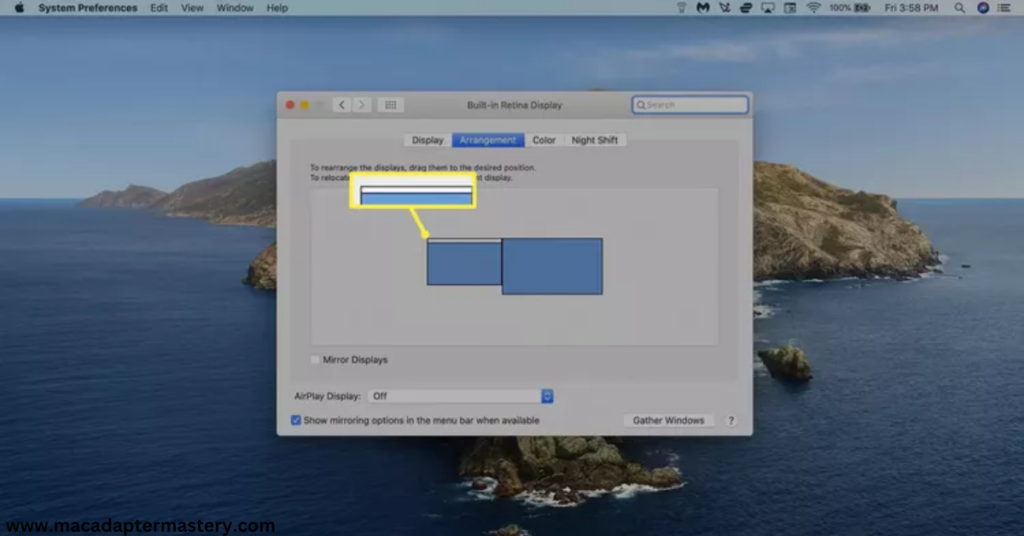
Step 4: Set Up Your Display
After connecting the monitor, you’ll need to set it up:
- Click the Apple logo in the top left corner of your screen.
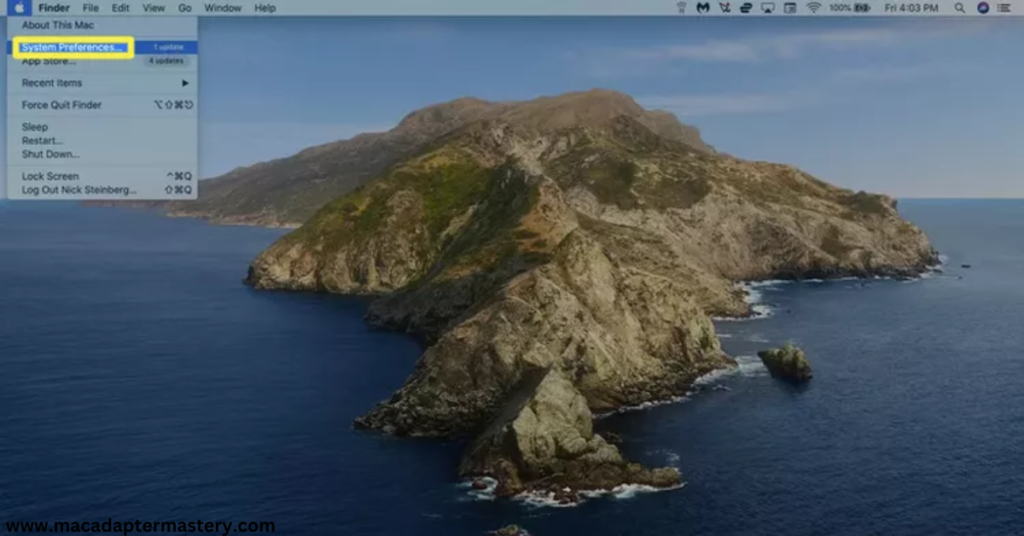
- Choose “System Preferences” and then click “Displays.”
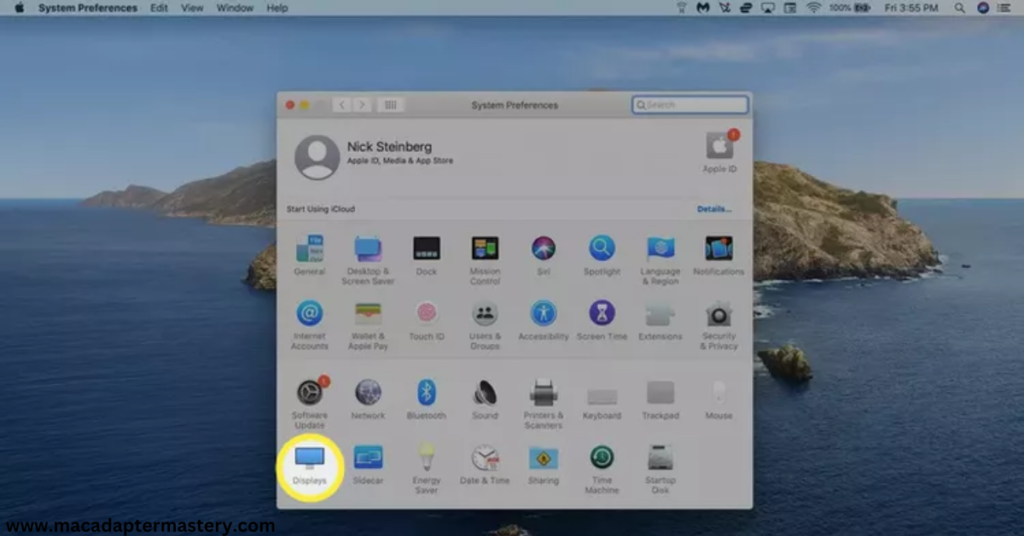
- If your monitor isn’t detected, hold down the Options key on your keyboard and click “Detect Displays.”

- To change how your displays are arranged, go to the “Arrangement” tab and drag the display icons to where you want them.
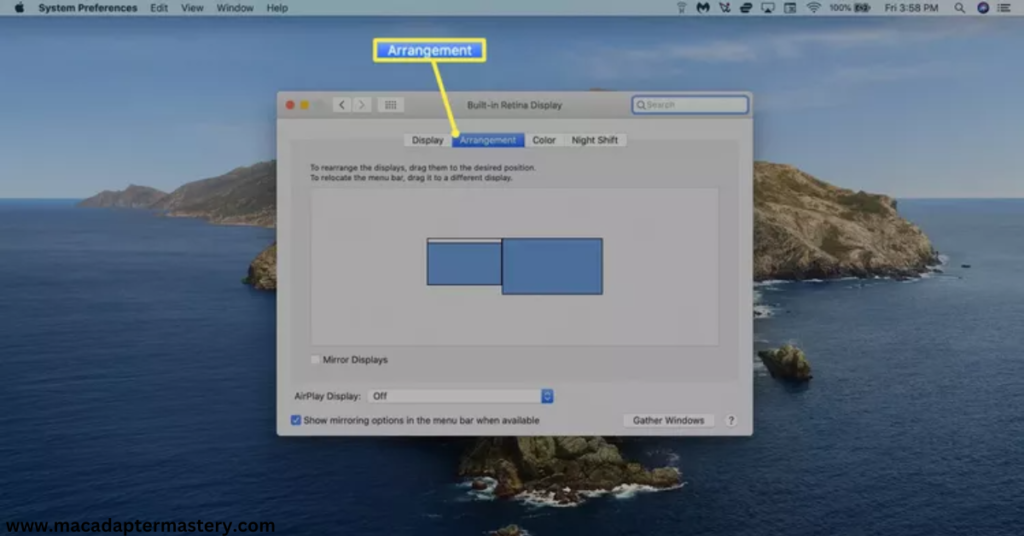
- If you want both screens to show the same thing, check the box that says “Mirror Displays.”
Step 5: Enjoy Your Expanded Workspace
Once everything is set up, you’re ready to go! You now have a bigger screen to work with, making it easier to do tasks like writing, designing or watching videos.
Conclusion
Connecting your MacBook Air to a monitor is a simple process that can make your work or entertainment experience much better. Just follow these easy steps and you’ll be enjoying your new setup in no time. Whether you’re working on a project or just watching your favorite shows, having a bigger screen with your MacBook Power can make a big difference.