

If you’re looking for a hassle free method to unmount an SD card from your MacBook without risking your files, using the Trash icon on your dock is a convenient solution. This method ensures the SD card is safely unmounted, allowing you to remove it without any data loss.
Table of Contents
Easy Steps for Unmounting SD Card on MacBook Power:
1. Click and Hold:
- Locate your SD card icon on the desktop.
- Click and hold on the SD card icon.

2. Drag to Dock:
- Drag the held SD card icon down to your dock.

3. Drop on Eject Icon:
- Hover over the Eject icon on your dock.
- Release the SD card icon when the Eject icon appears.
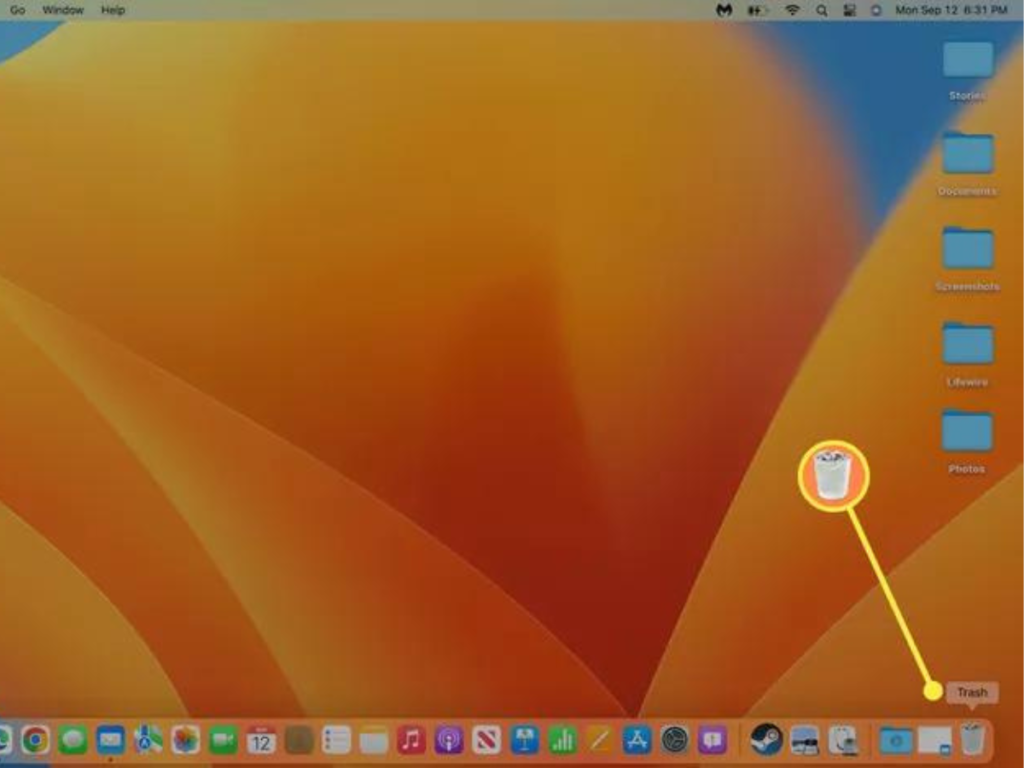
Quick Tip: The Trash icon transforms into an Eject icon when correctly dragging a mounted device.
Quick Tips:
- Always wait for the Eject icon before removing the SD card.
- If the Eject icon doesn’t appear then right click on the SD card icon and choose “Eject.”
Summary Table – MacBook Power Guide:
| Step | Action |
| 1 | Click and Hold on SD Card |
| 2 | Drag to Dock |
| 3 | Drop on Eject Icon |
Follow these easy steps to unmount your SD card effortlessly with your MacBook Power.
FAQs
Q1: Does dragging to Trash delete files?
No, this method only unmounts the SD card; it does not delete files.
Q2: What if the Eject icon doesn’t appear?
Right-click on the SD card icon and choose “Eject.”
Conclusion:
Safely remove your SD card using the Trash icon on your MacBook Power. Follow these simple steps to unmount without any data loss.